Neon LMS is a complete package script for setting up online courses and earn by enrolling students. The bundle includes responsive frontend website managed by full-fledge dashboard for Admin, Teachers and Students. Admin can manage every aspect of the system while Teacher can create multiple courses with Lessons and Tests. User can browse through this list and can enroll as student by paying for the course and educate themselves anytime and from anywhere.
So what you're waiting for? Setup Neon LMS and start earning by sharing knowledge.
Step 1
Download [or] Clone the latest and updated source code of Neon Lms. User Android application Source Code from zip to your project root folder.
Step 2
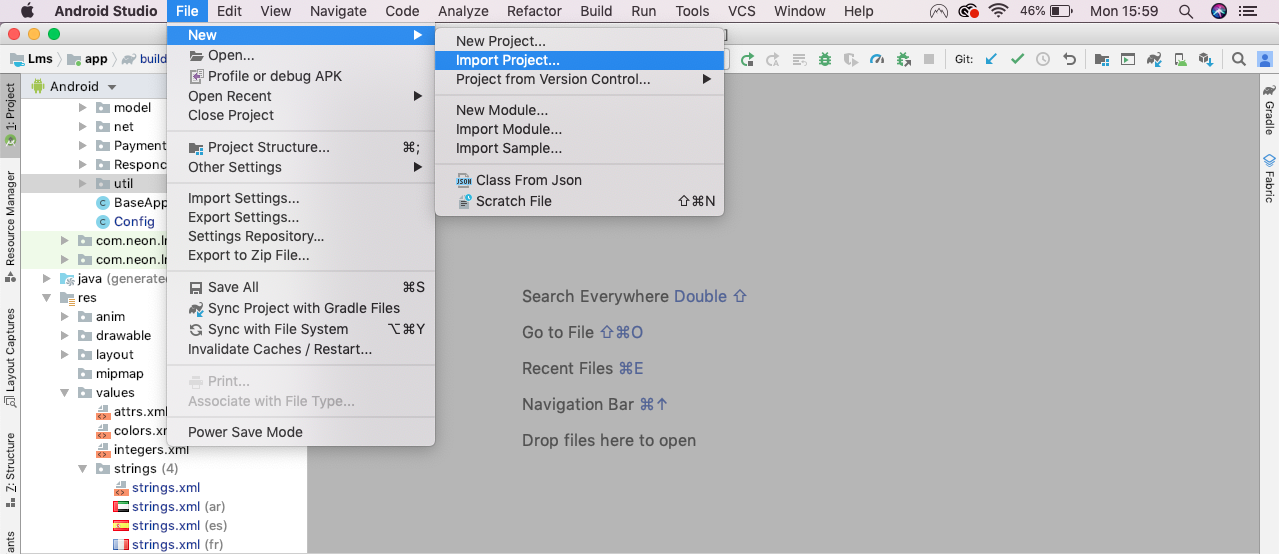
Open your Android Studio. From File options On the top left corner, Choose Import ---> Import Project option.
Step 3
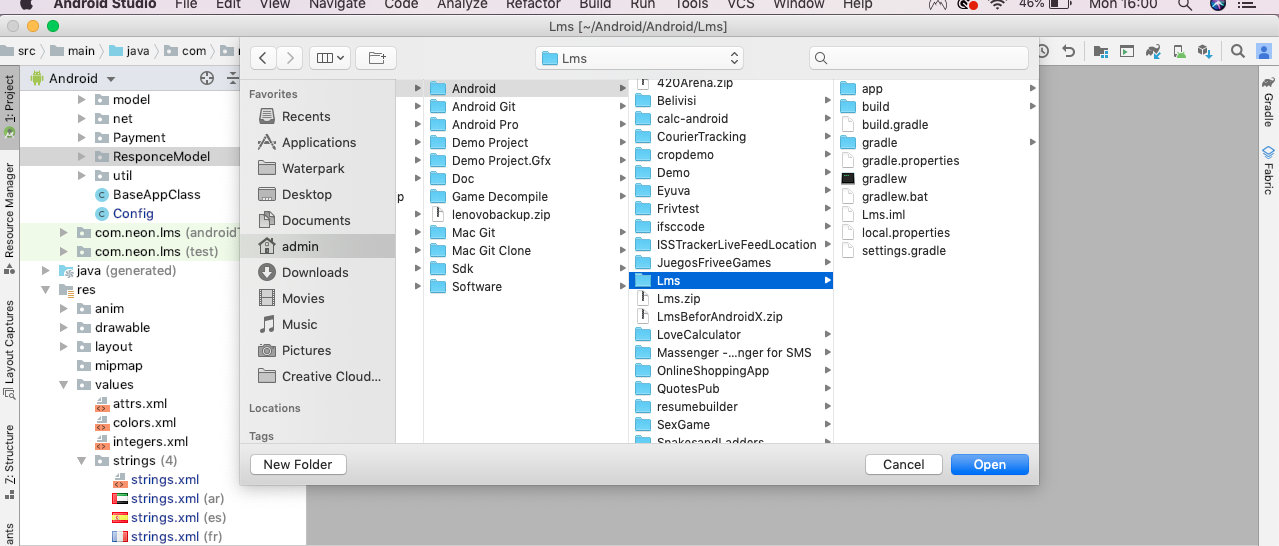
A Selection dialog will open. Choose the path from where the project is located.
Step 4
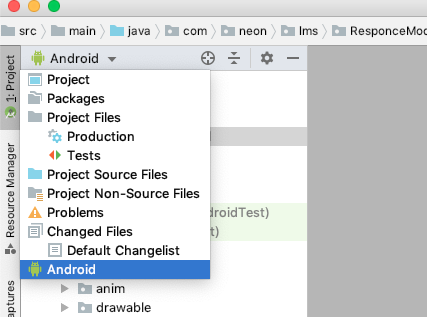
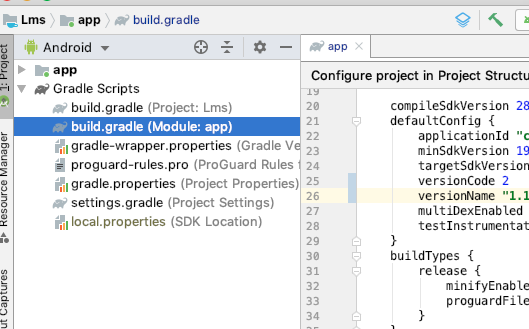
After the project got imported, In the project window, you can customize the files what you viewed. Select Android from the dropdown menu on the left corner, to view all necessary files that you need in your project.
Step 5
Under Gradle Scripts ---> Select the app’s build.gradle file.
Step 6
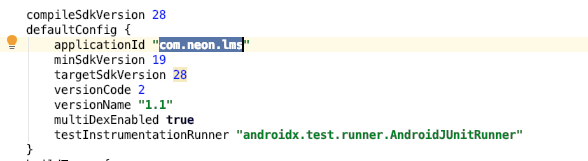
On app level gradle file replace the applicationId with your package name and sync the project.
Step 7
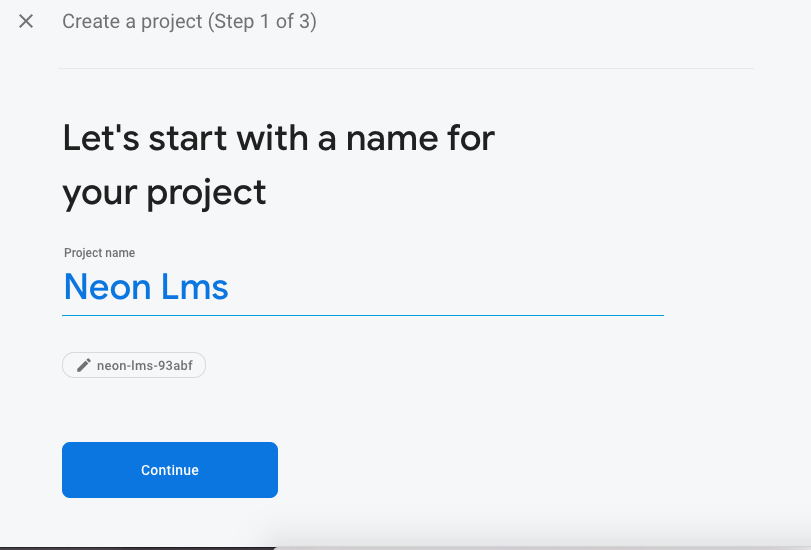
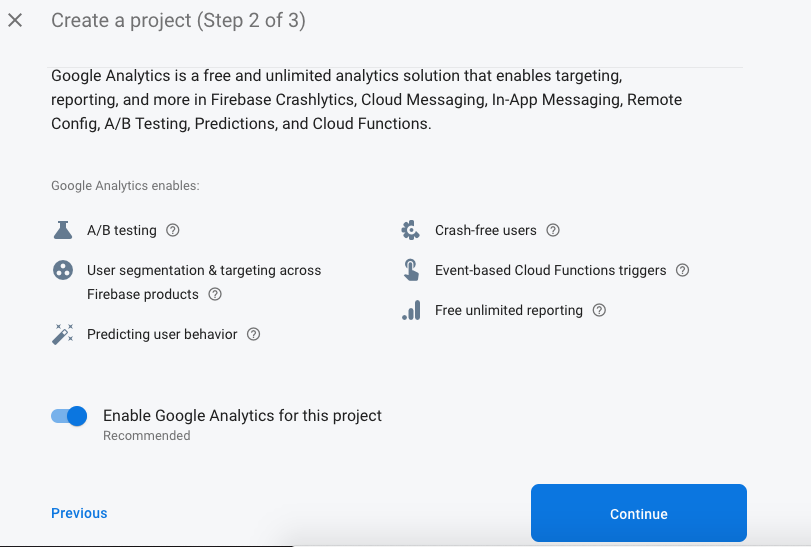
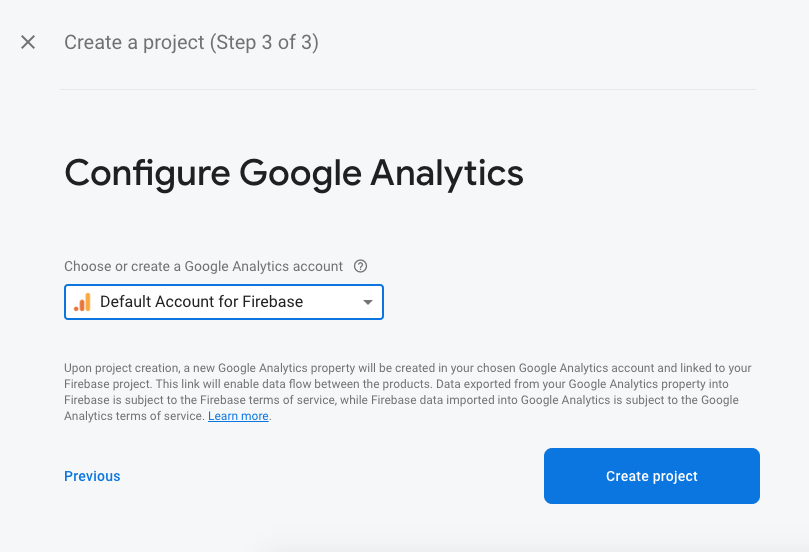
To get google_services.json file Sign in to your account on Firebase and select Add Project with your Application Name(If Not Exist) and select your country.
Step 8
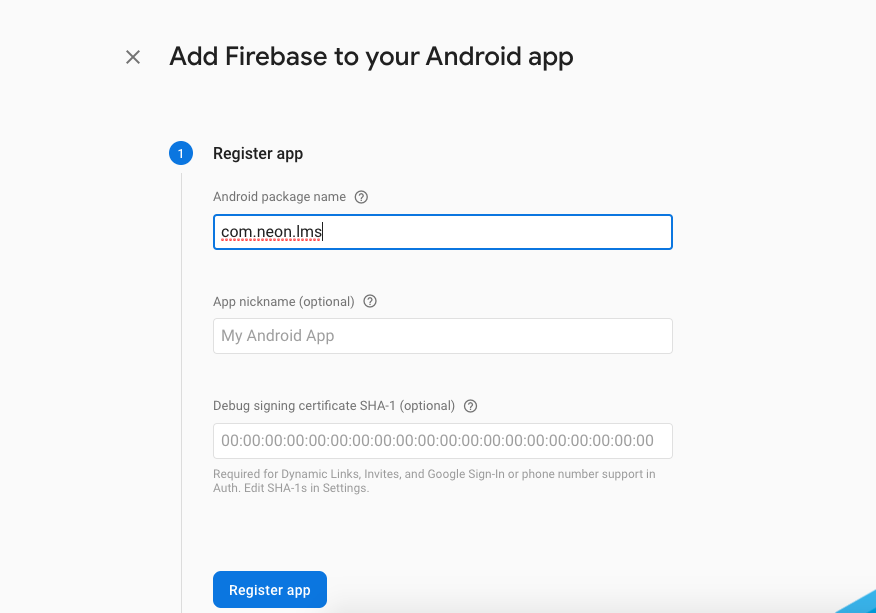
Inside your project you can register your android app with your package name, app name(optional) and your own(Android Studio) SHA-1 key.
Step 9
After registering App you can see google-service.json file in another popup.
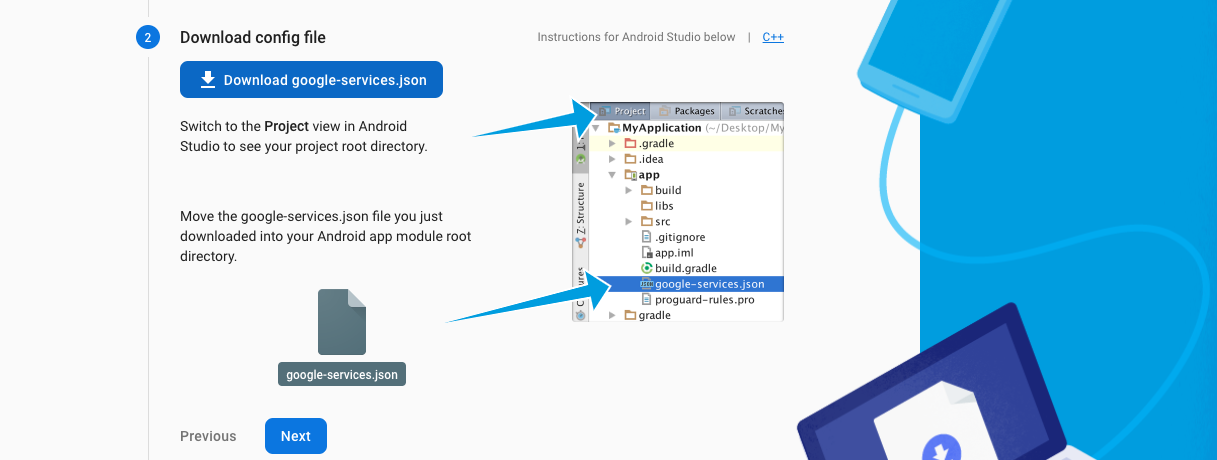
Now Download the google-service.json file from your console and finish the steps of app creation and replace that google-service.json on android studio. Then sync project at android studio.
Note : You can download google-service.json file from your console at any time.
To do that select Settings option by clicking menu icon of your app(Which you created already).
Step 10
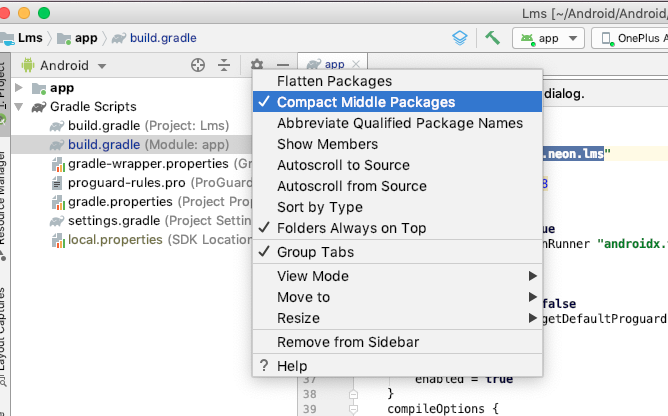
Select Compact Empty middle packages option by clicking gear icon from android studio’s left top corner.
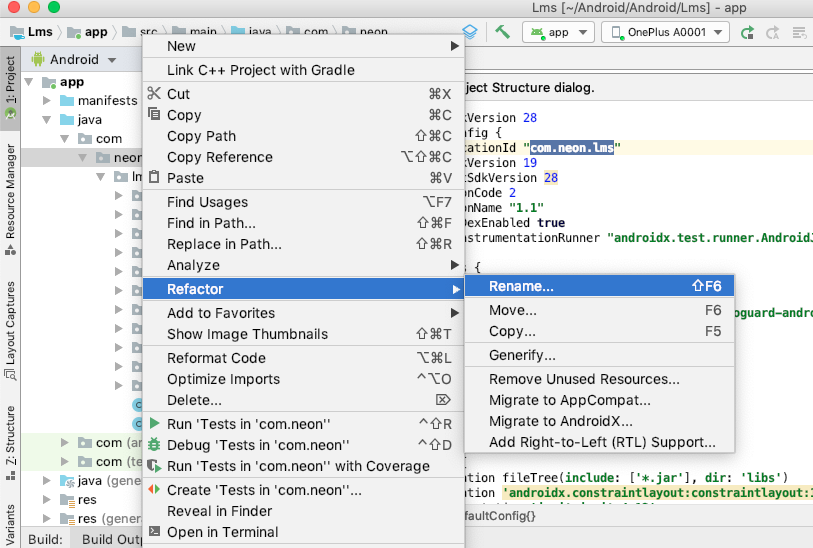
Step 11
Now you can Rename the package name by right click on the package name -> refactor -> Rename.(Shift+F6).
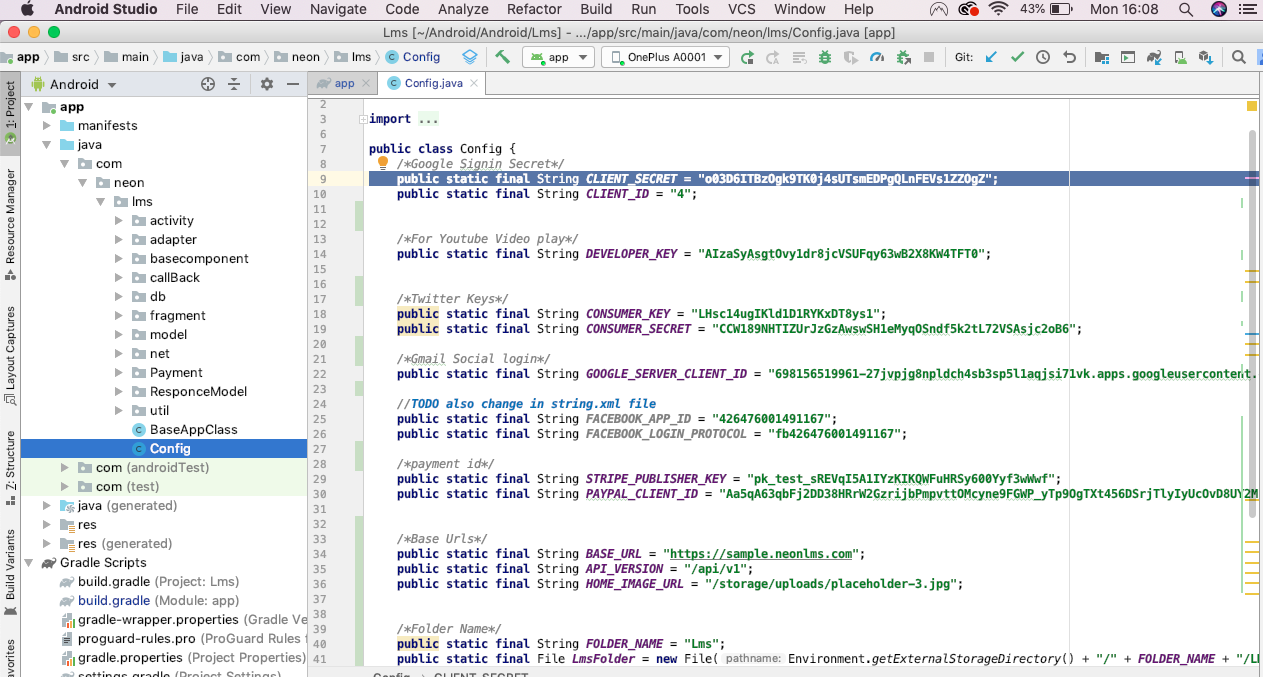
Step 12
Open Config,java class from Constants package and change BASE_URL, CLIENT_SECRET_KEY and STRIPE_TOKEN with your installation credentials.
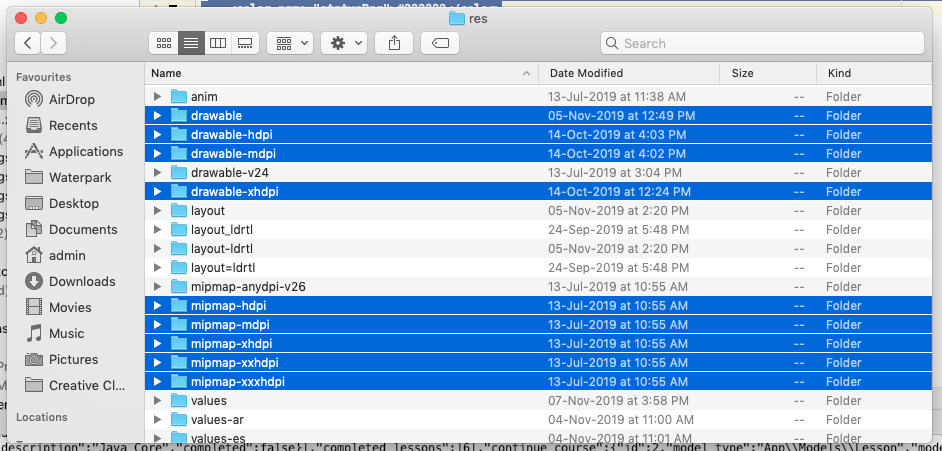
Step 13
On your root folder Go to app -> src -> main -> res
Step 14
Change image files from drawable and mipmap folders of res directory to your project’s relevant images.
Step 15
At res directory, Change app_name and facebook_app_id ,fb_login_protocol_scheme,at strings.xml file of values package.

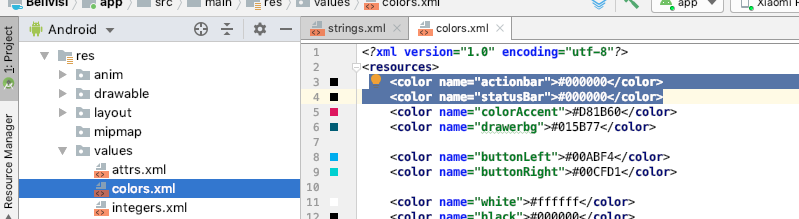
Step 16
To change the theme color, use colors.xml file.